Creating a program
To create a program navigate to the programs page and click the green Add new Program button.
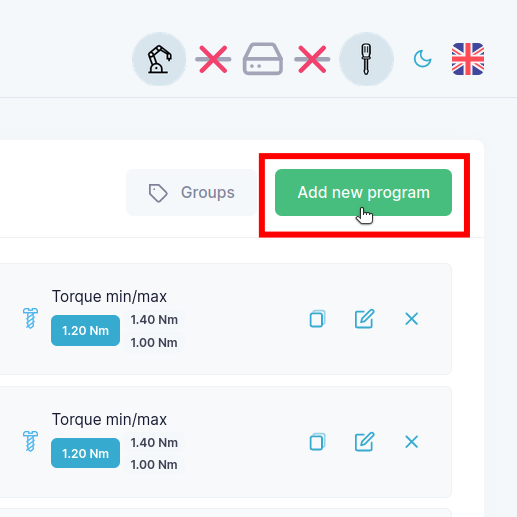
You will be presented with a wizard that will guide you through the process of creating a program.
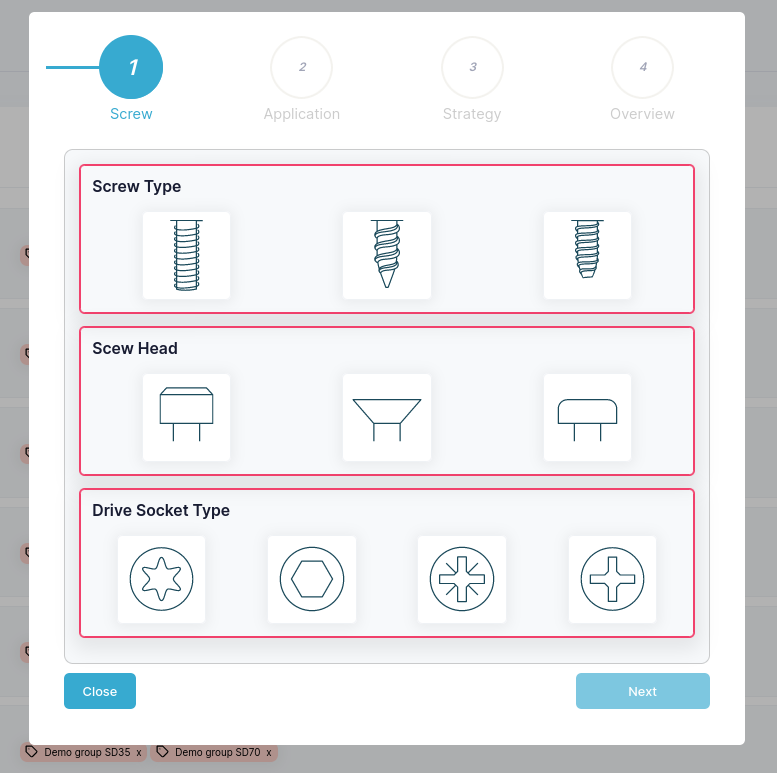
- Follow in the wizard as follows:
Screw: Pick the features that most resemble the screw you wish to create a program for.
Application: Pick the Application that best match the setup that you are working with, you should look at the hole where you wish to insert a screw.
Strategy: Select the Strategy you will use to drive the screw, for an explanation of the Strategies you can click the drop down arrow on the right side of the wizard.
Overview: In the Overview section fill in all the information about your program. First, give your program a name - this will be the name that you will select in your robot program. Hereafter, the contents of the Overview tap depends on your previous selections in the wizard. It will usualy include a tool speed in RPM, this will need to match the capabilities of the tool you are using. Typically, you will also need to add the lenght and pitch of your screw, plus any metrics related to the Application and finaly the target torque or target positon you wish to reach.
For an example of a screw program see Creating a program example.