Configuring the Spin Bridge
Connect to the Spin Dashboard
The Spin Dashboard is opened in a browser, over the Spin Bridge’s Wi-Fi hotspot or over ethernet. The hotspot is fine for an occasional configuration change. A wired connection is recommended when the Dashboard is used to follow screwdriving results, and ethernet is preferred wherever the network topology allows it.
Over the Hotspot
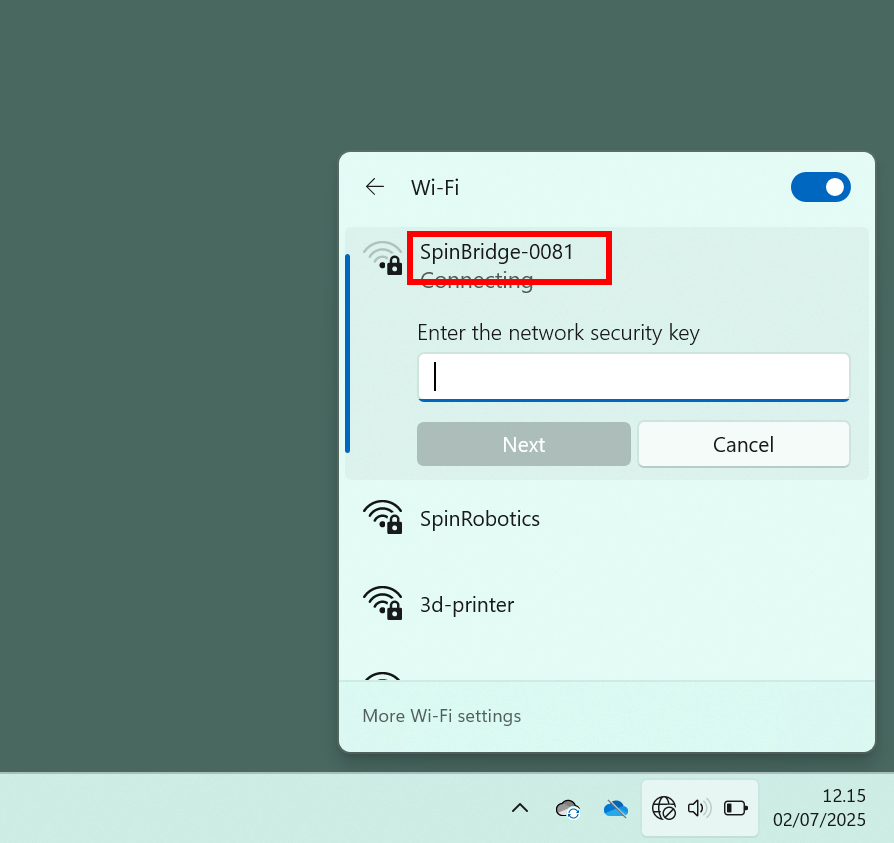
Connect the PC to the Wi-Fi network SpinBridge-XXXX, where XXXX is the last four digits of the Spin Bridge’s serial number. The default password is spinbridge.
Open http://10.42.0.1 in a browser.
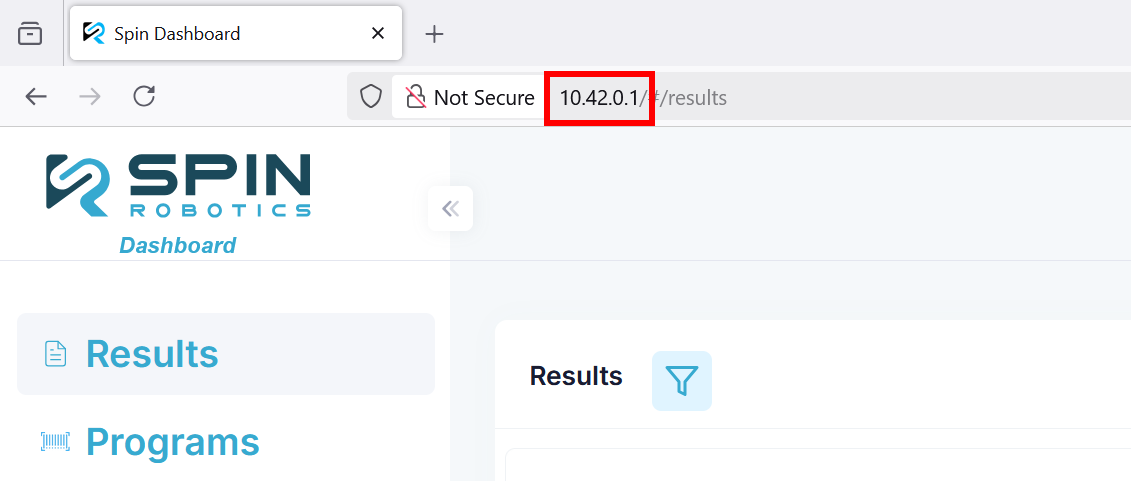
The hotspot’s address cannot be changed, so it also reaches a Spin Bridge whose ethernet address is unknown. While the PC is on the hotspot it may lose its internet connection, and with it this manual.
Over Ethernet
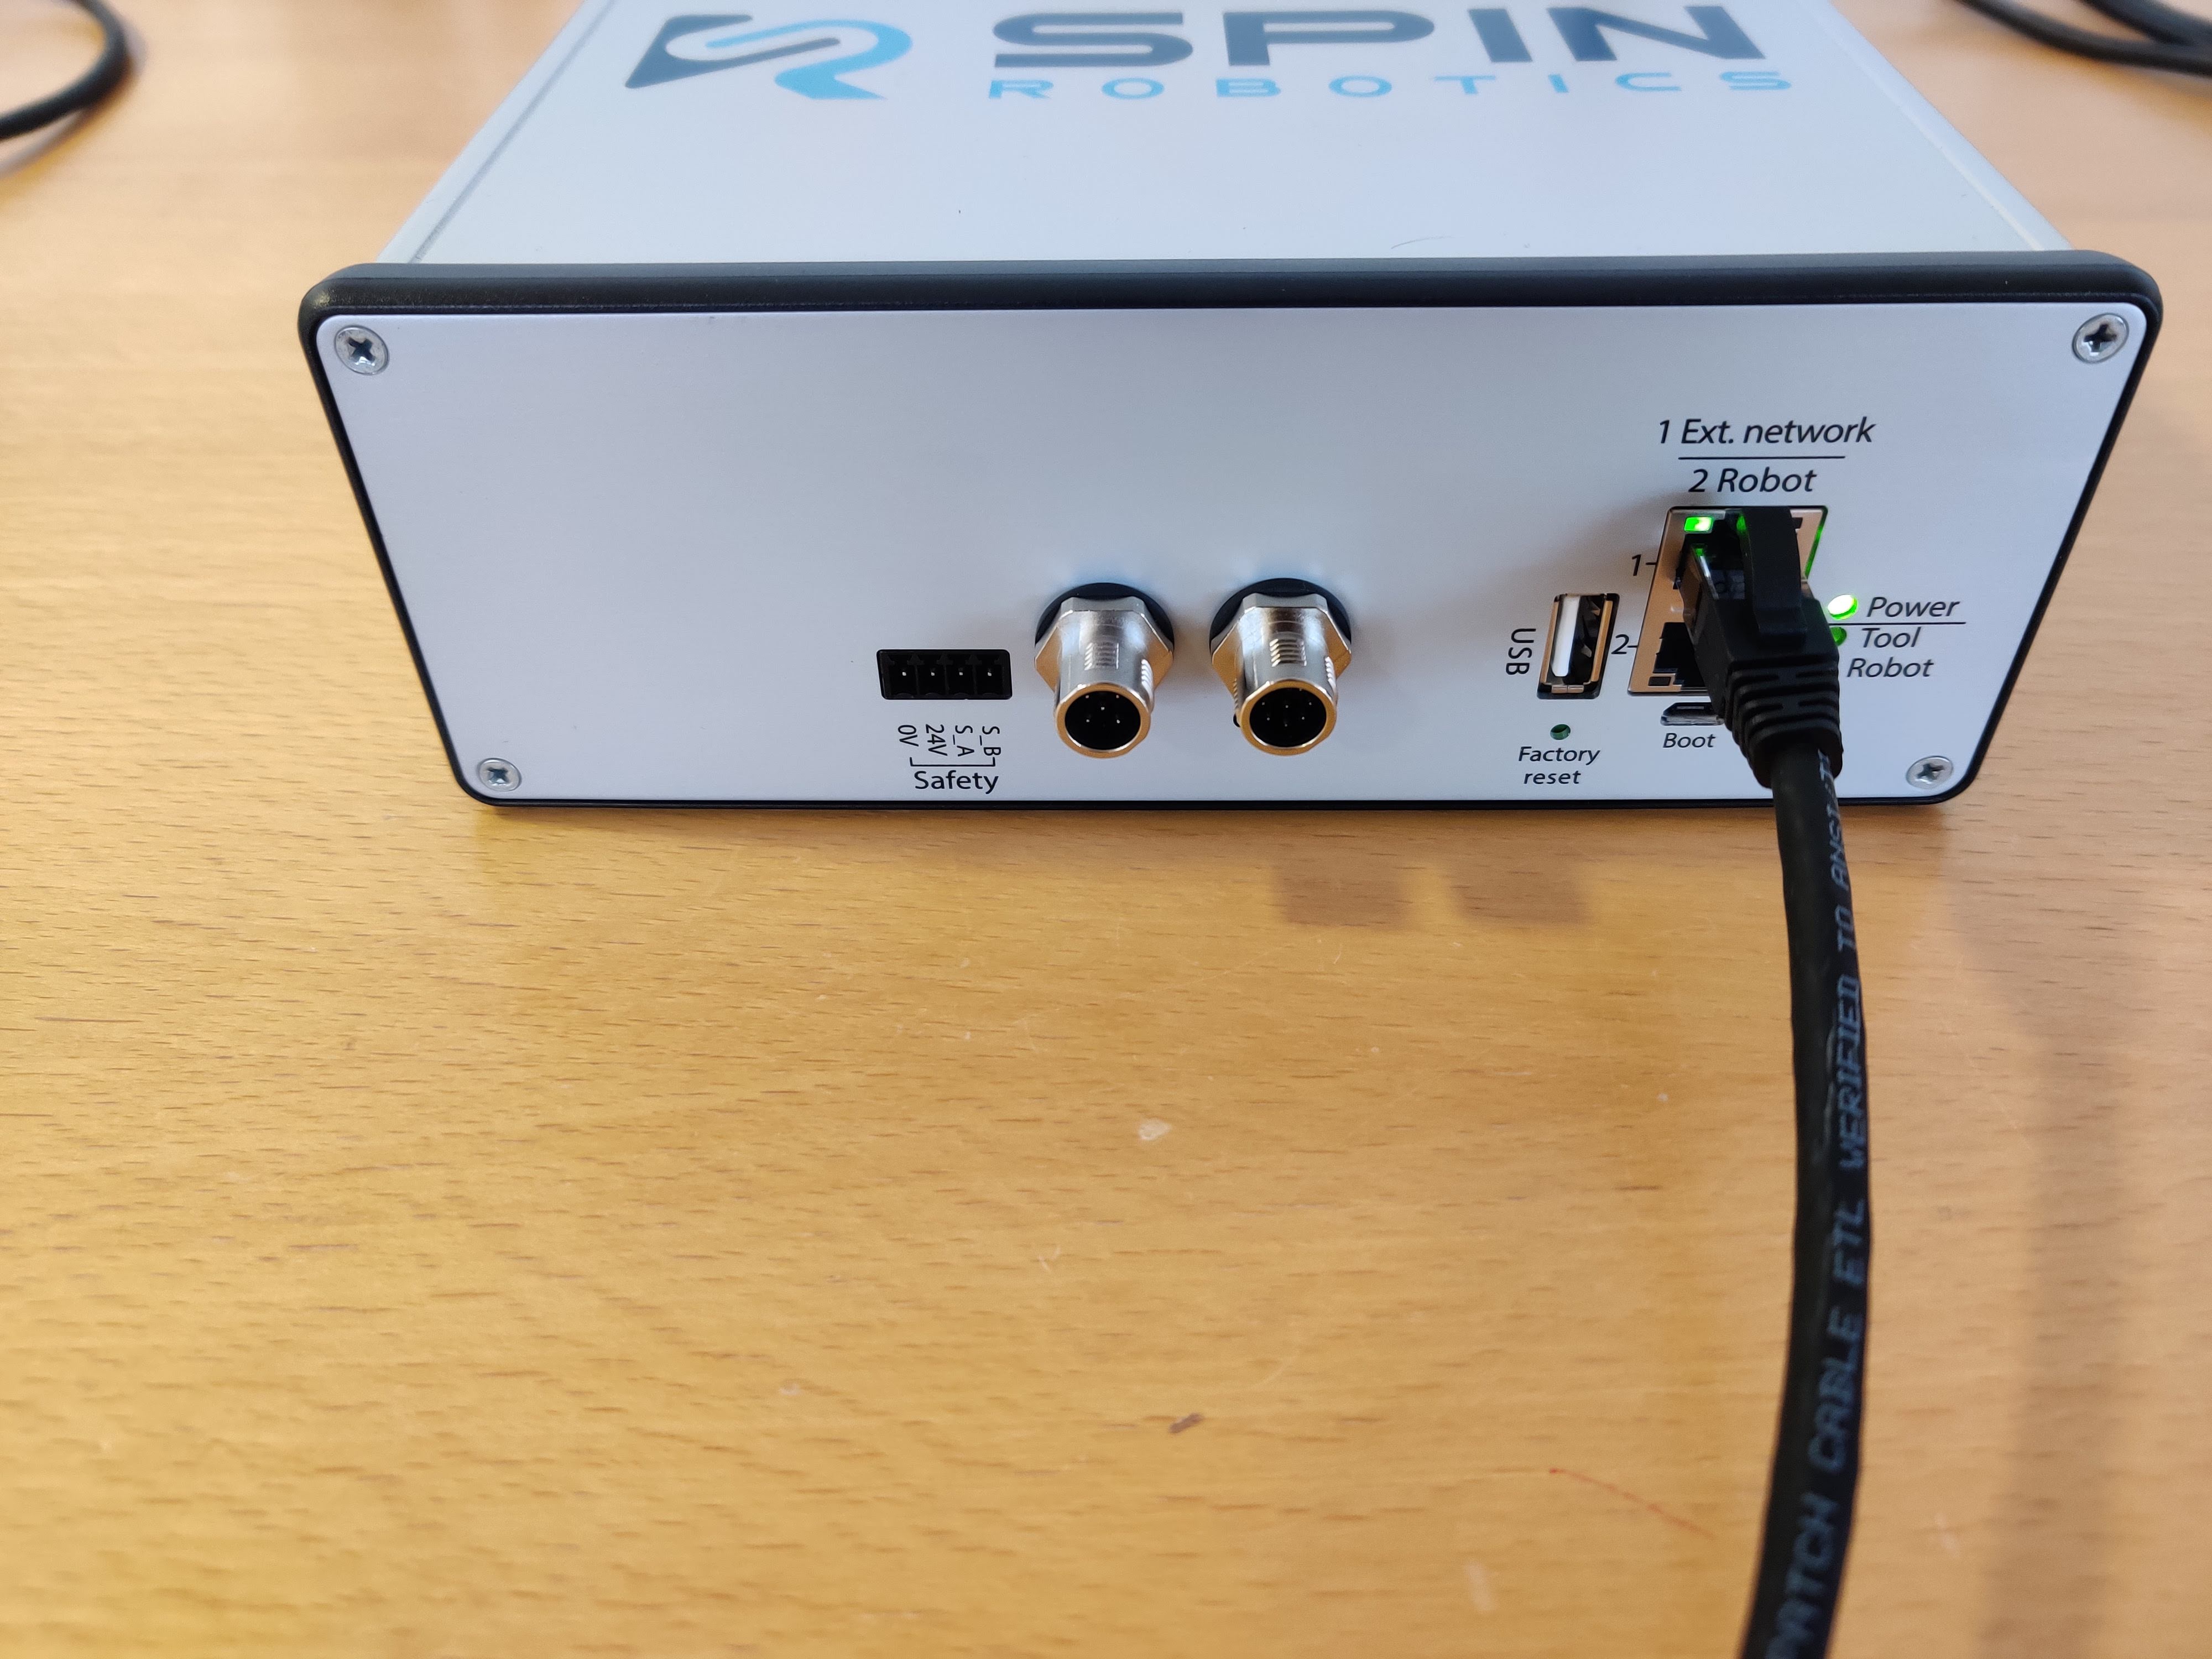
Through a network switch, open the address set for 1 Ext. network from a PC on the same network. With the robot connected directly to 2 Robot, 1 Ext. network is free for the PC:
Over the hotspot, open Settings > Network and select the 1. Ext. Network tab.
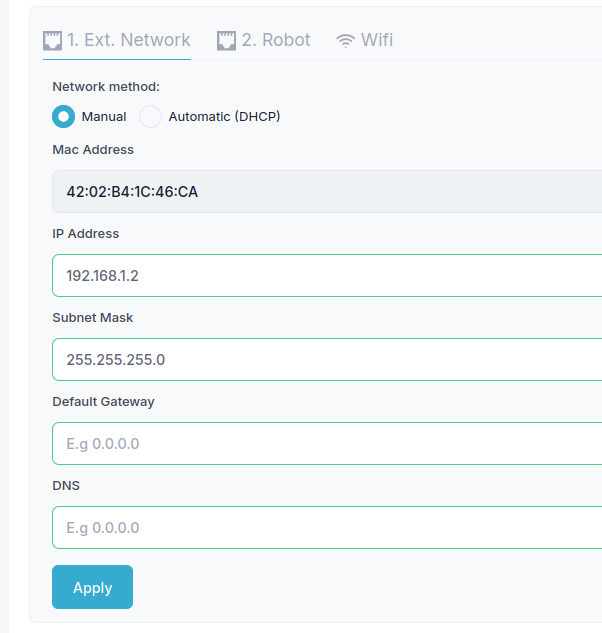
Select Manual and enter an IP address and subnet mask, for example 192.168.1.2 and 255.255.255.0. Leave the gateway and DNS empty, and click Apply.
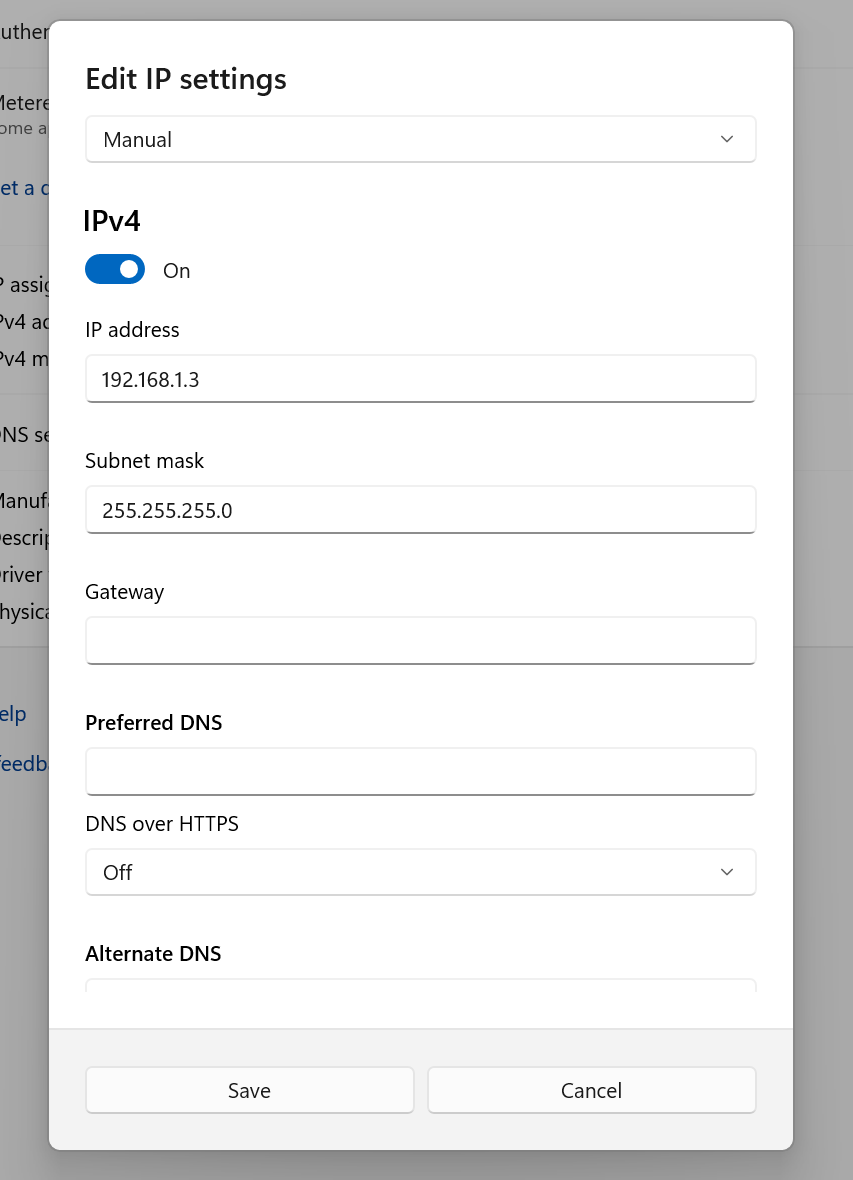
On the PC, set a static address in the same subnet, for example 192.168.1.3 with subnet mask 255.255.255.0.
Connect the PC to 1 Ext. network with an ethernet cable.
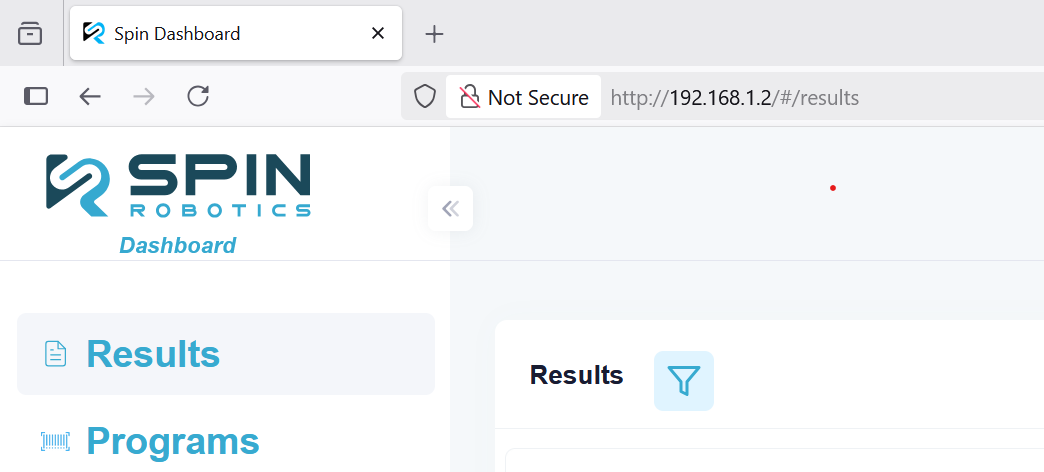
Open the Spin Bridge’s address in a browser, for example http://192.168.1.2. The PC can now leave the hotspot.
Set Up the Network
The network is set up under Settings > Network, with one tab for each interface. After changing the interface the browser is connected through, reconnect to it and reload the page.
1 Ext. network
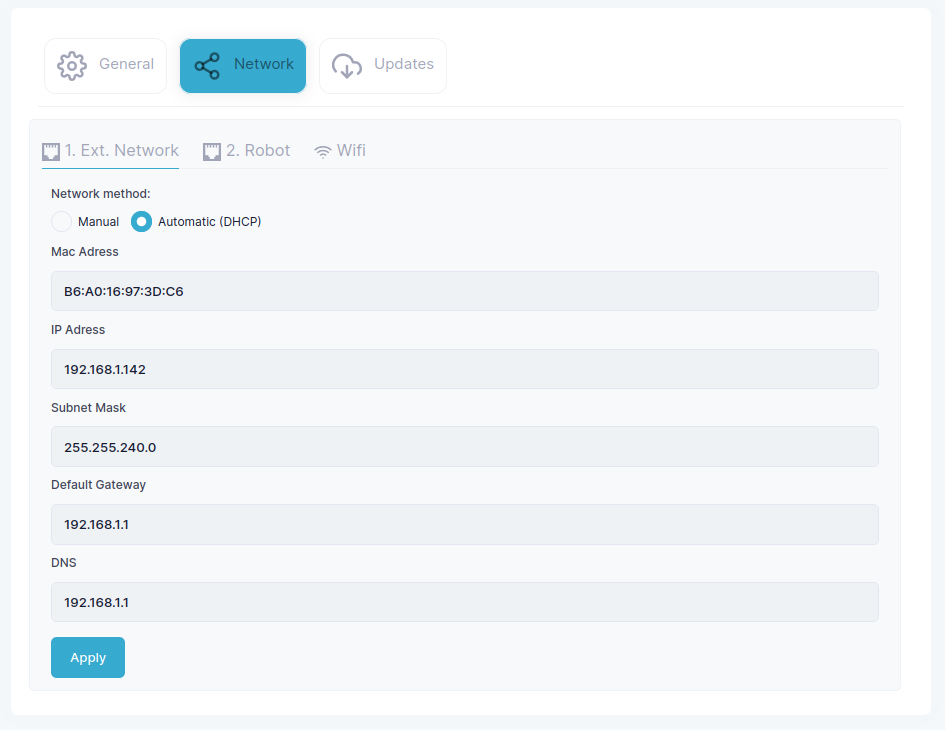
Automatic (DHCP) is the default.
Automatic (DHCP) takes an address from the plant’s DHCP server. This is the default.
Manual takes the IP address and subnet mask you enter: one in the plant’s subnet when the robot is connected through a switch, or one shared with the PC when the robot is connected directly to 2 Robot.
The default gateway and DNS are needed only to reach the internet, for example to update the Spin Bridge, and then both are needed. Click Apply to save.
2 Robot
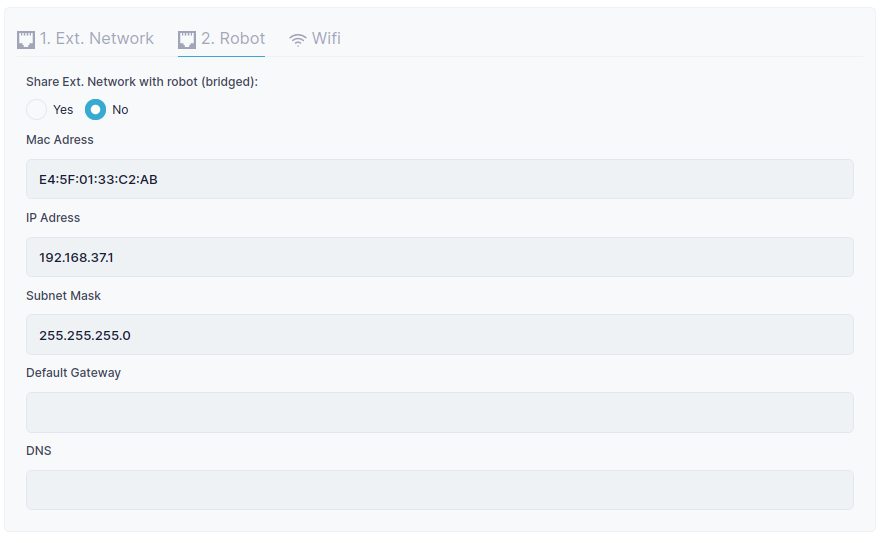
The 2 Robot tab shows the port’s fixed address.
2 Robot has the fixed address 192.168.37.1 with subnet mask 255.255.255.0.
Wireless
The Spin Bridge’s Wi-Fi works in one of three ways:
Turn on Wifi Hotspot — the default, described under Over the Hotspot.
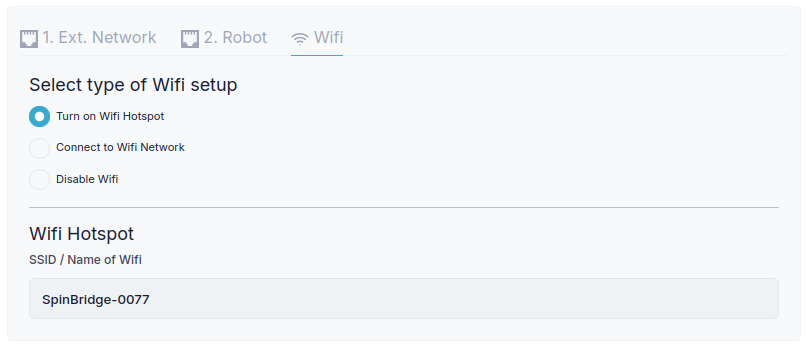
Connect to Wifi Network — joins a local Wi-Fi network. Enter its SSID and password and click Connect; the address it is given appears on the right. This is a way to give the Spin Bridge internet access for an update.
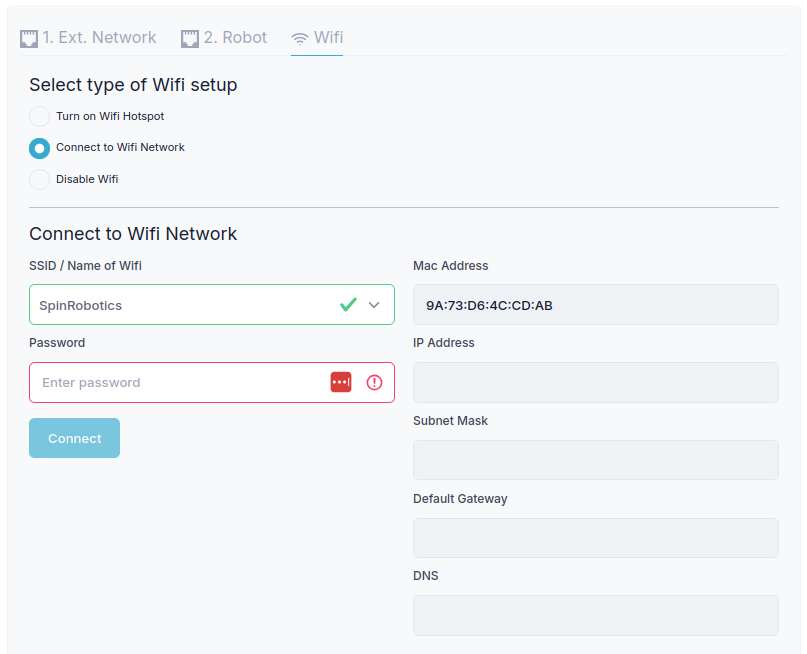
Disable Wifi — turns the wireless interface off.
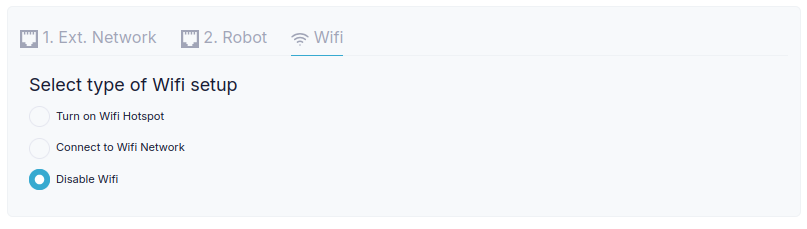
Wi-Fi is not recommended for the connection to the robot, because of its latency.
MAC Addresses
Each tab shows the interface’s MAC address, for networks that require a device to be registered. The addresses are assigned in software and can change when the Spin Bridge is updated.
Reset the Network
The factory reset button returns the network settings to their defaults; see Factory Reset of the Spin Bridge.
Update the Spin Bridge
Notice
An update can delete stored data. The Spin Bridge’s versions are numbered <major>.<minor>.<patch>:
Stored results can be deleted by any update.
Stored programs can be deleted only by a major update. Minor and patch updates keep every program, but may modify one in ways that keep its overall behavior.
Stored settings can be reset only by a major update.
Before updating, read the Spin Bridge Changelog for every version between the installed one and the new one; deletions apply even to versions you skip.
Hint
An update can take anywhere from a minute to several hours, depending on its size and the internet connection.
Give the Spin Bridge internet access: connect 1 Ext. network to a network that has it, or join a Wi-Fi network that has it (see Wireless). No tool needs to be connected.
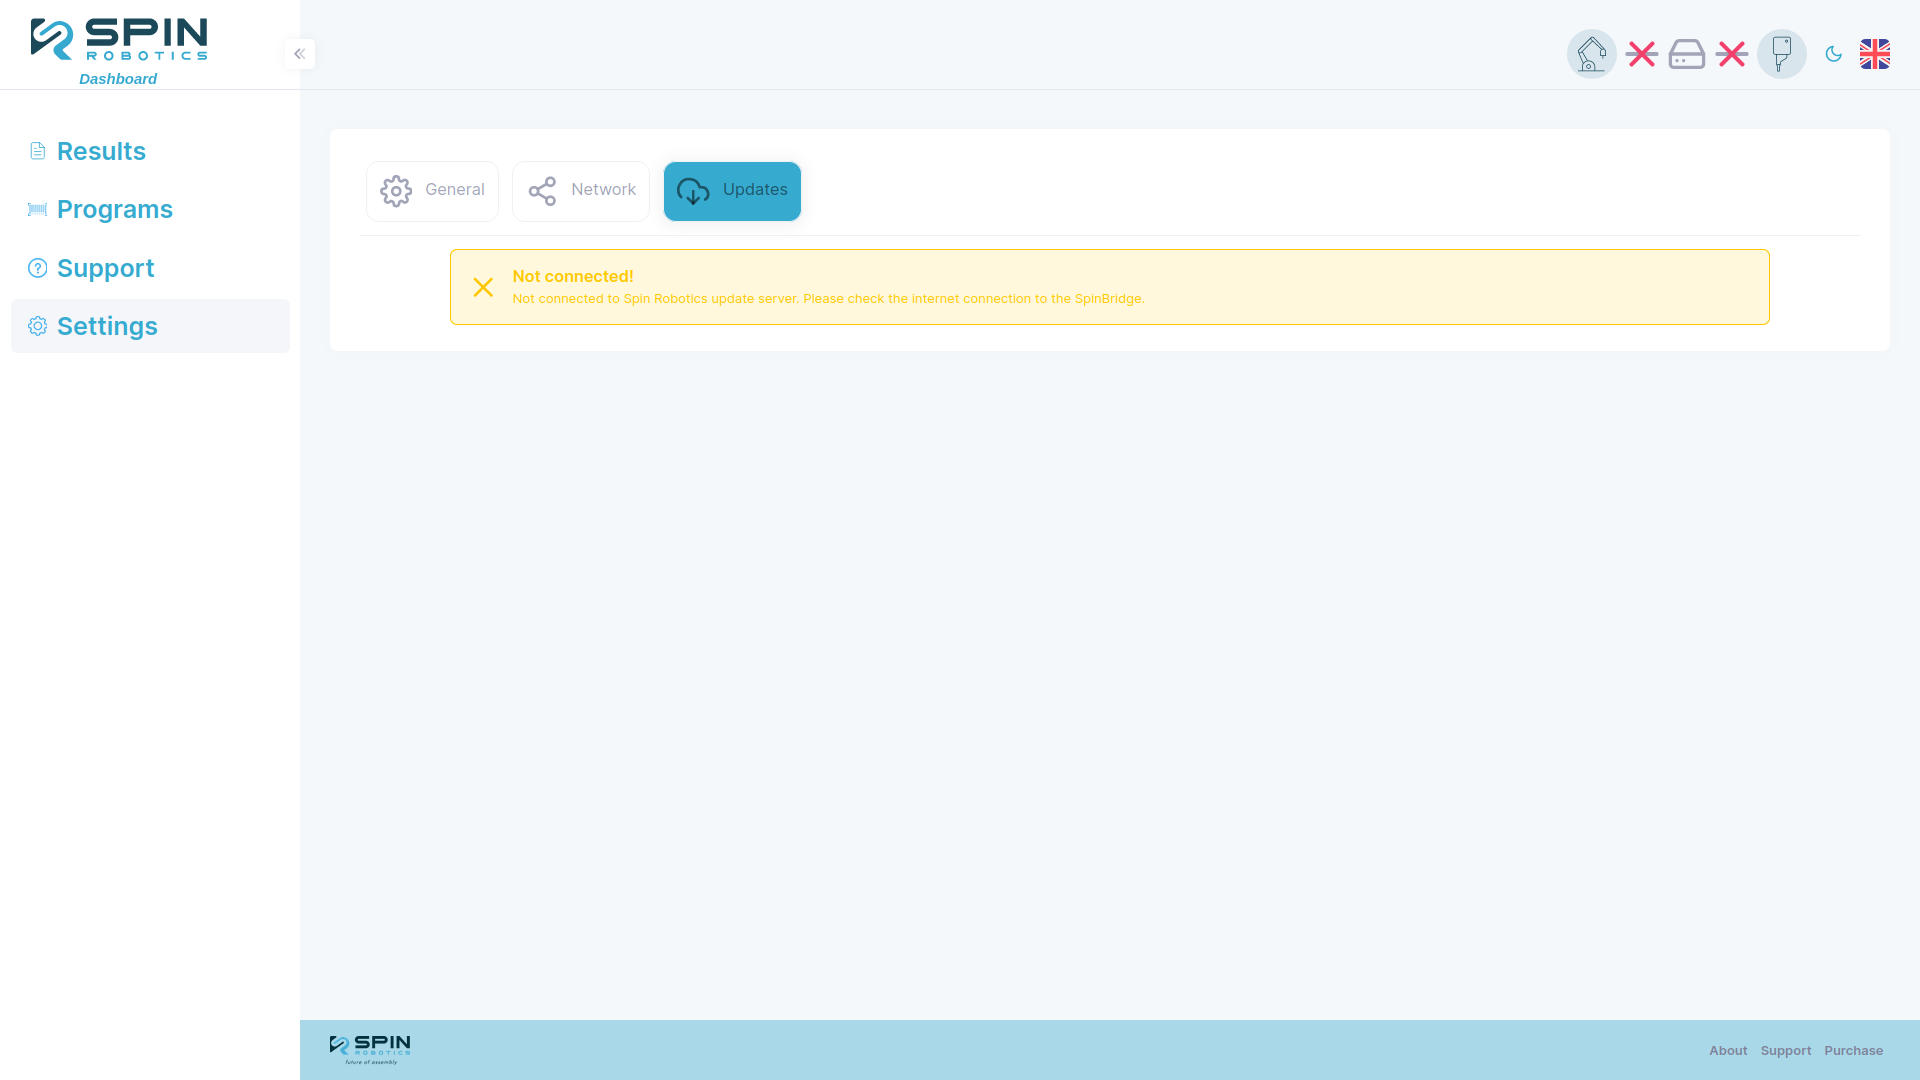
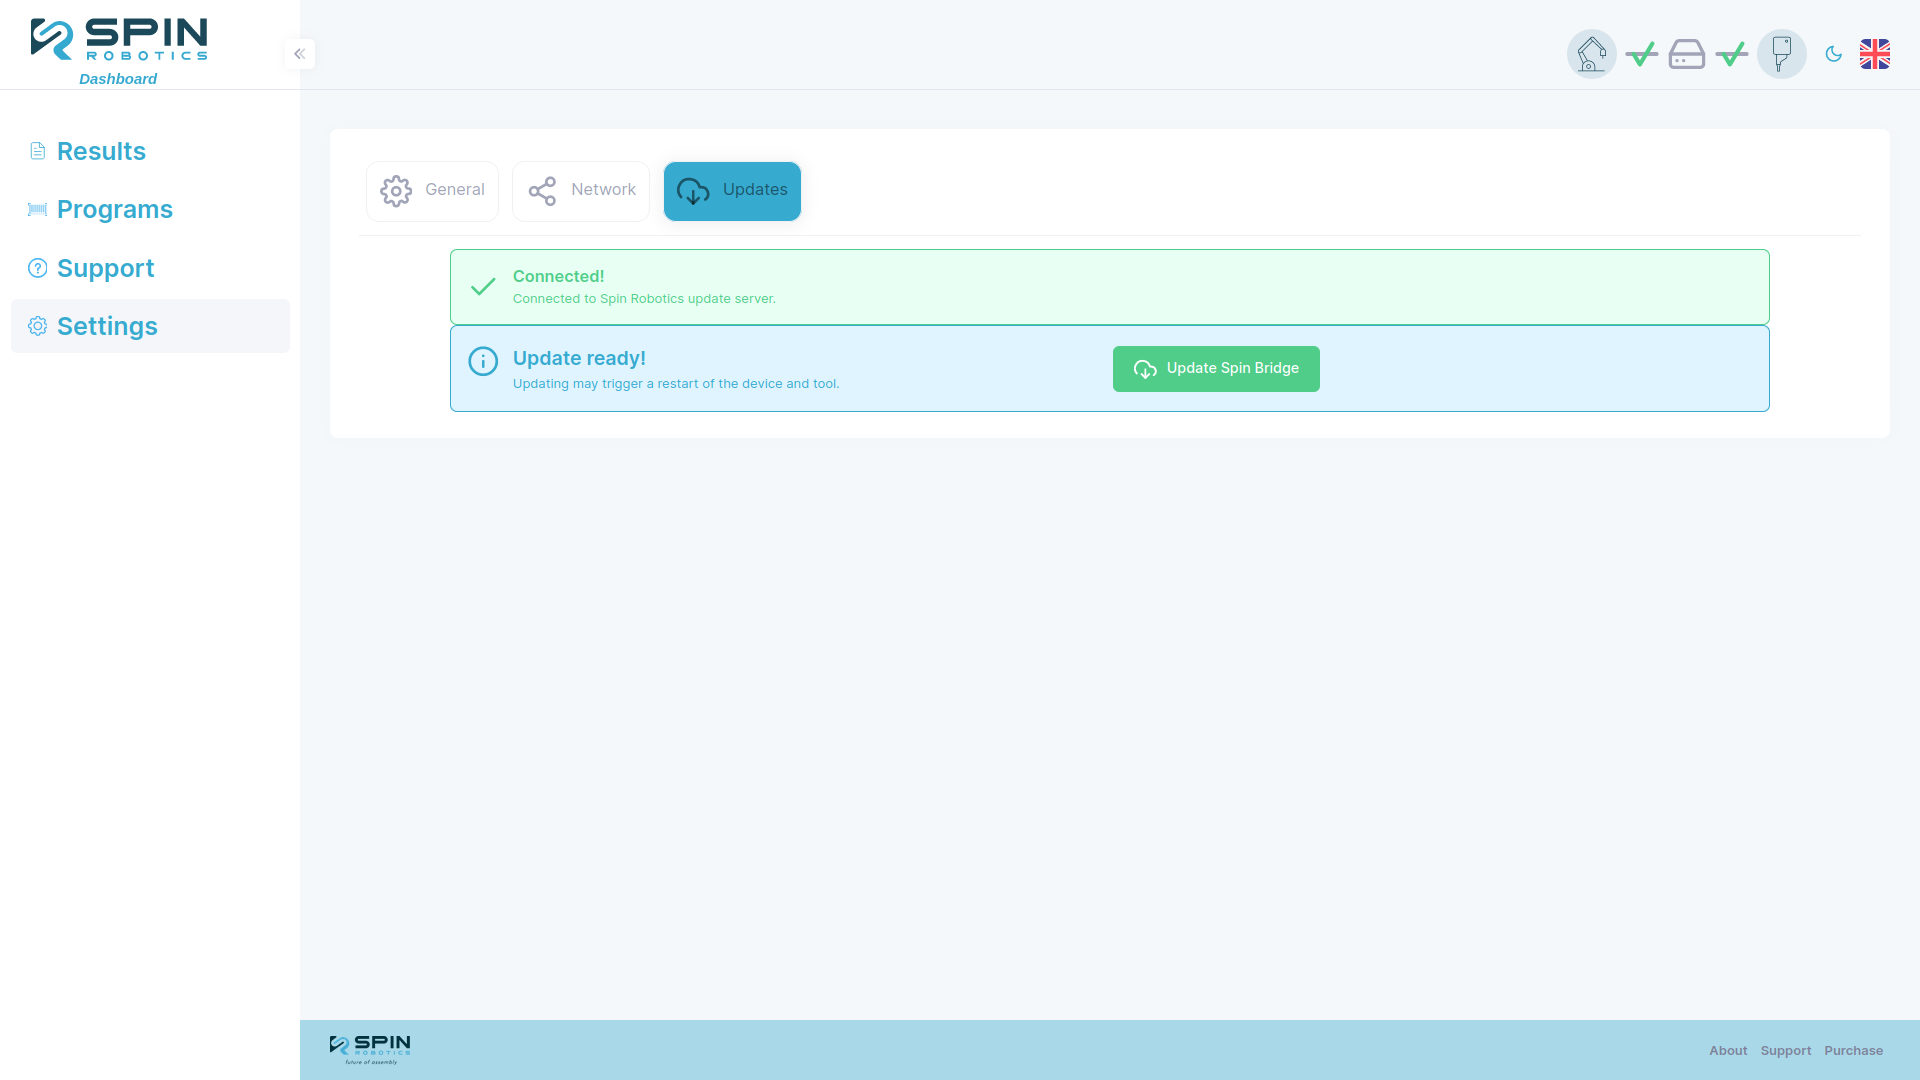
Open the Spin Dashboard and go to Settings > Updates. The page shows Connected! in green when the Spin Bridge reaches the update server, and Not connected! in yellow when it does not.
Click Update Spin Bridge. Without internet access, or with no update available, the button is not shown. The page may look different depending on the installed version.
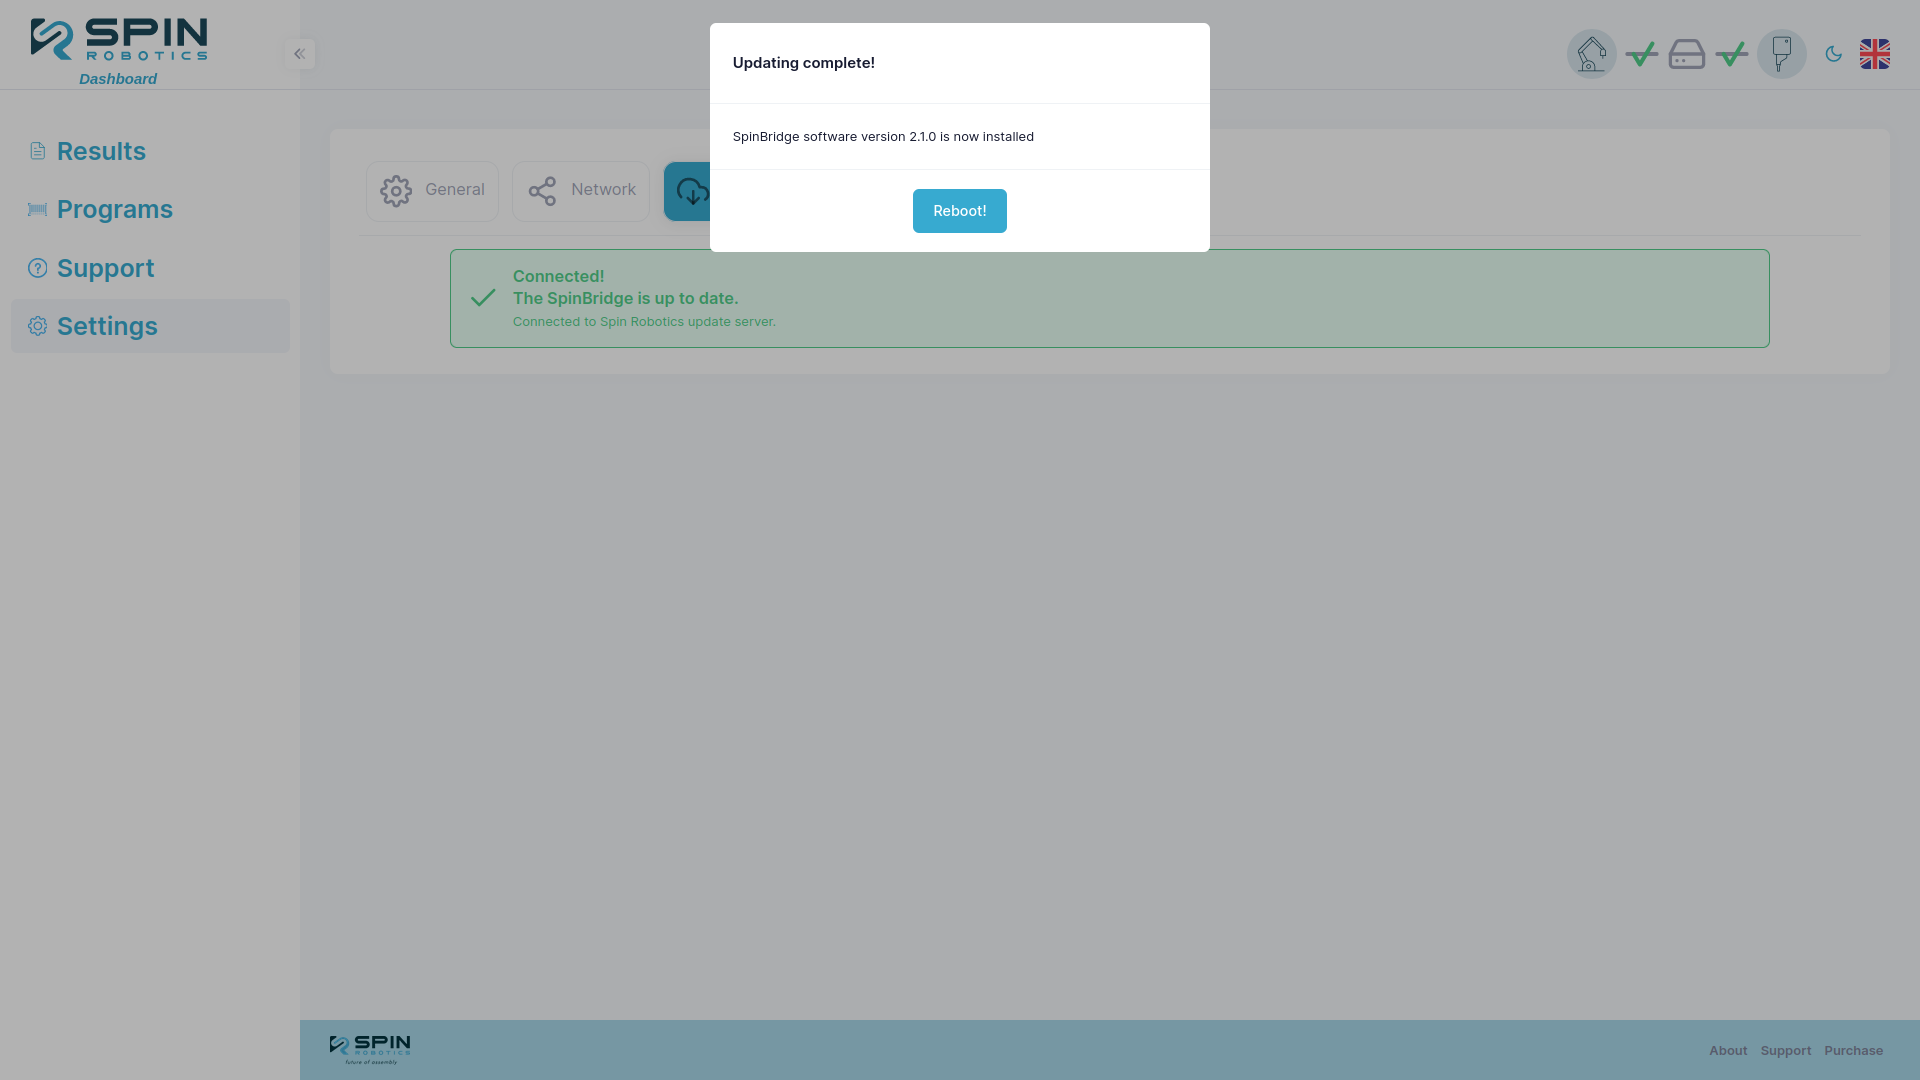
Wait for the update to finish. The connection may drop during the update; the Dashboard reconnects when it is done and shows a reboot button.
Update the Tool Firmware
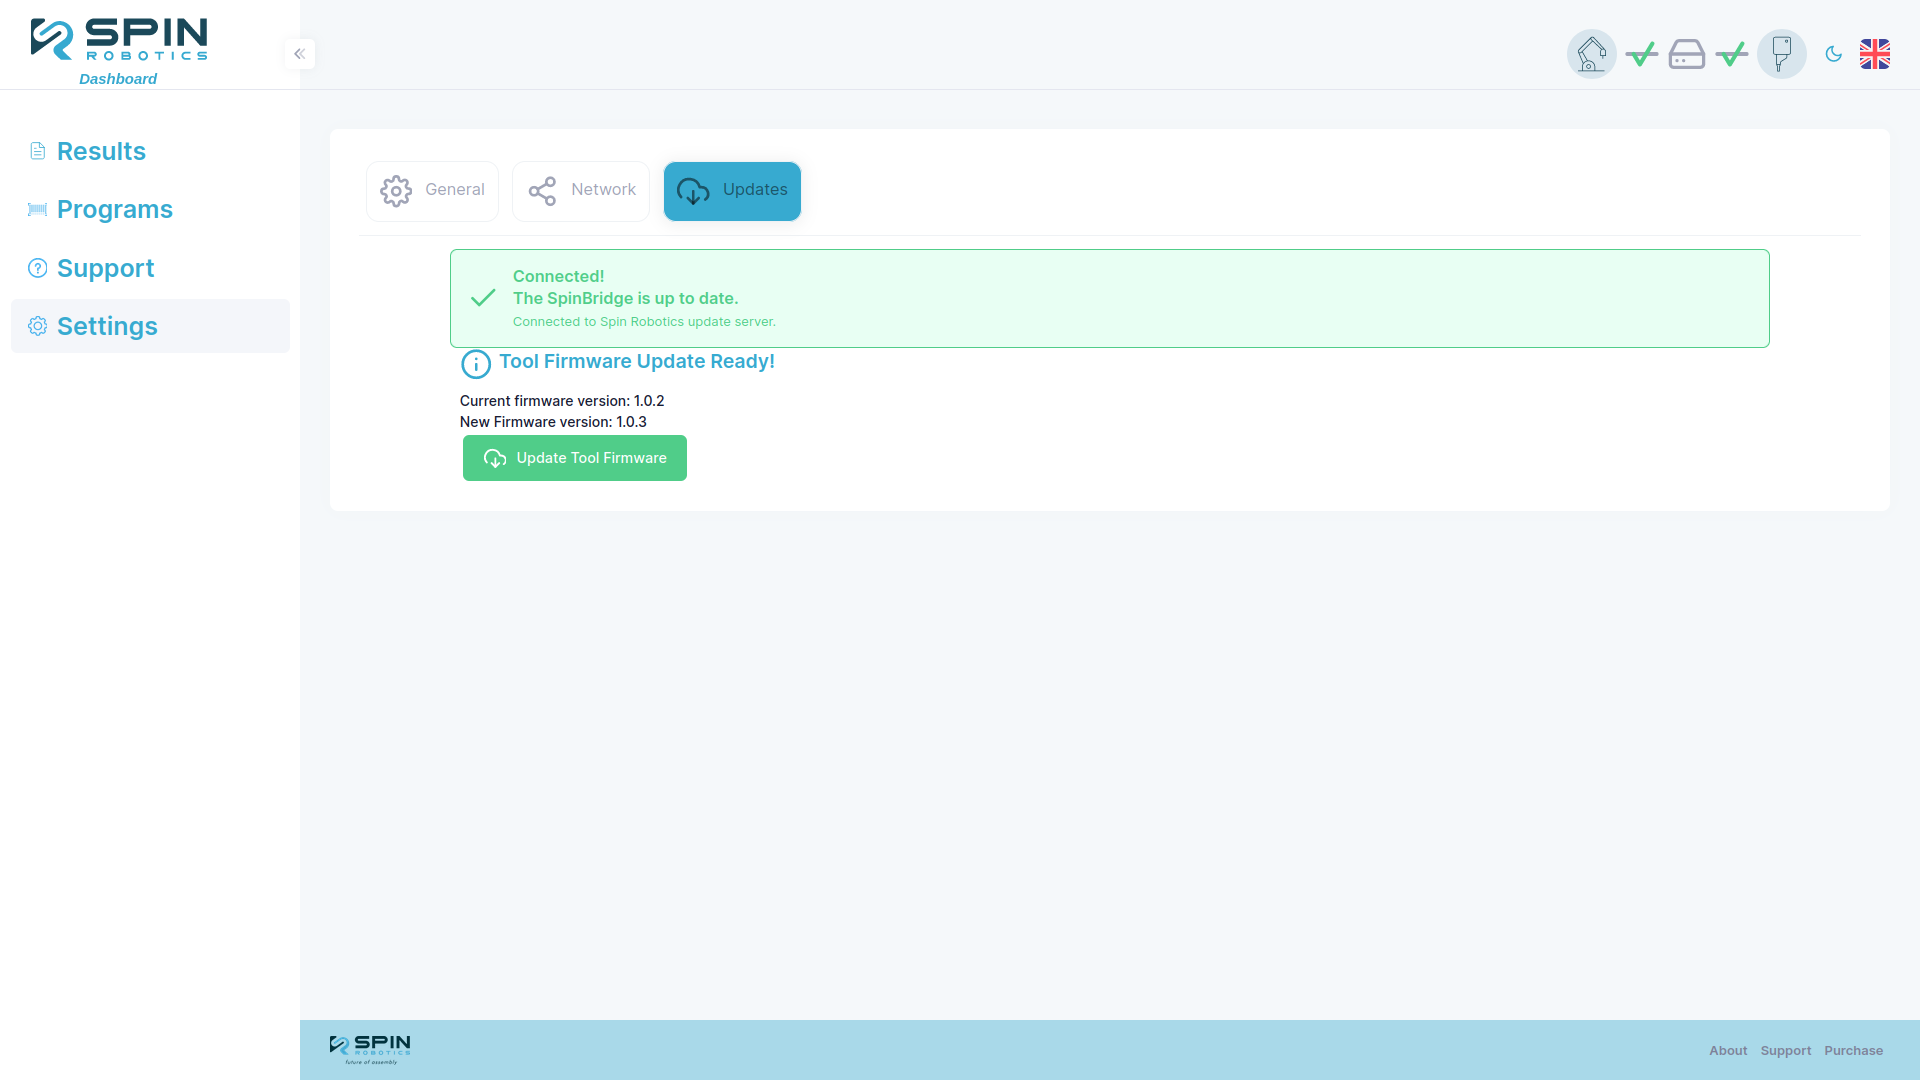
With the tool connected, open Settings > Updates. When the tool’s firmware is out of date, the page shows Tool Firmware Update Ready!. Click Update Tool Firmware.
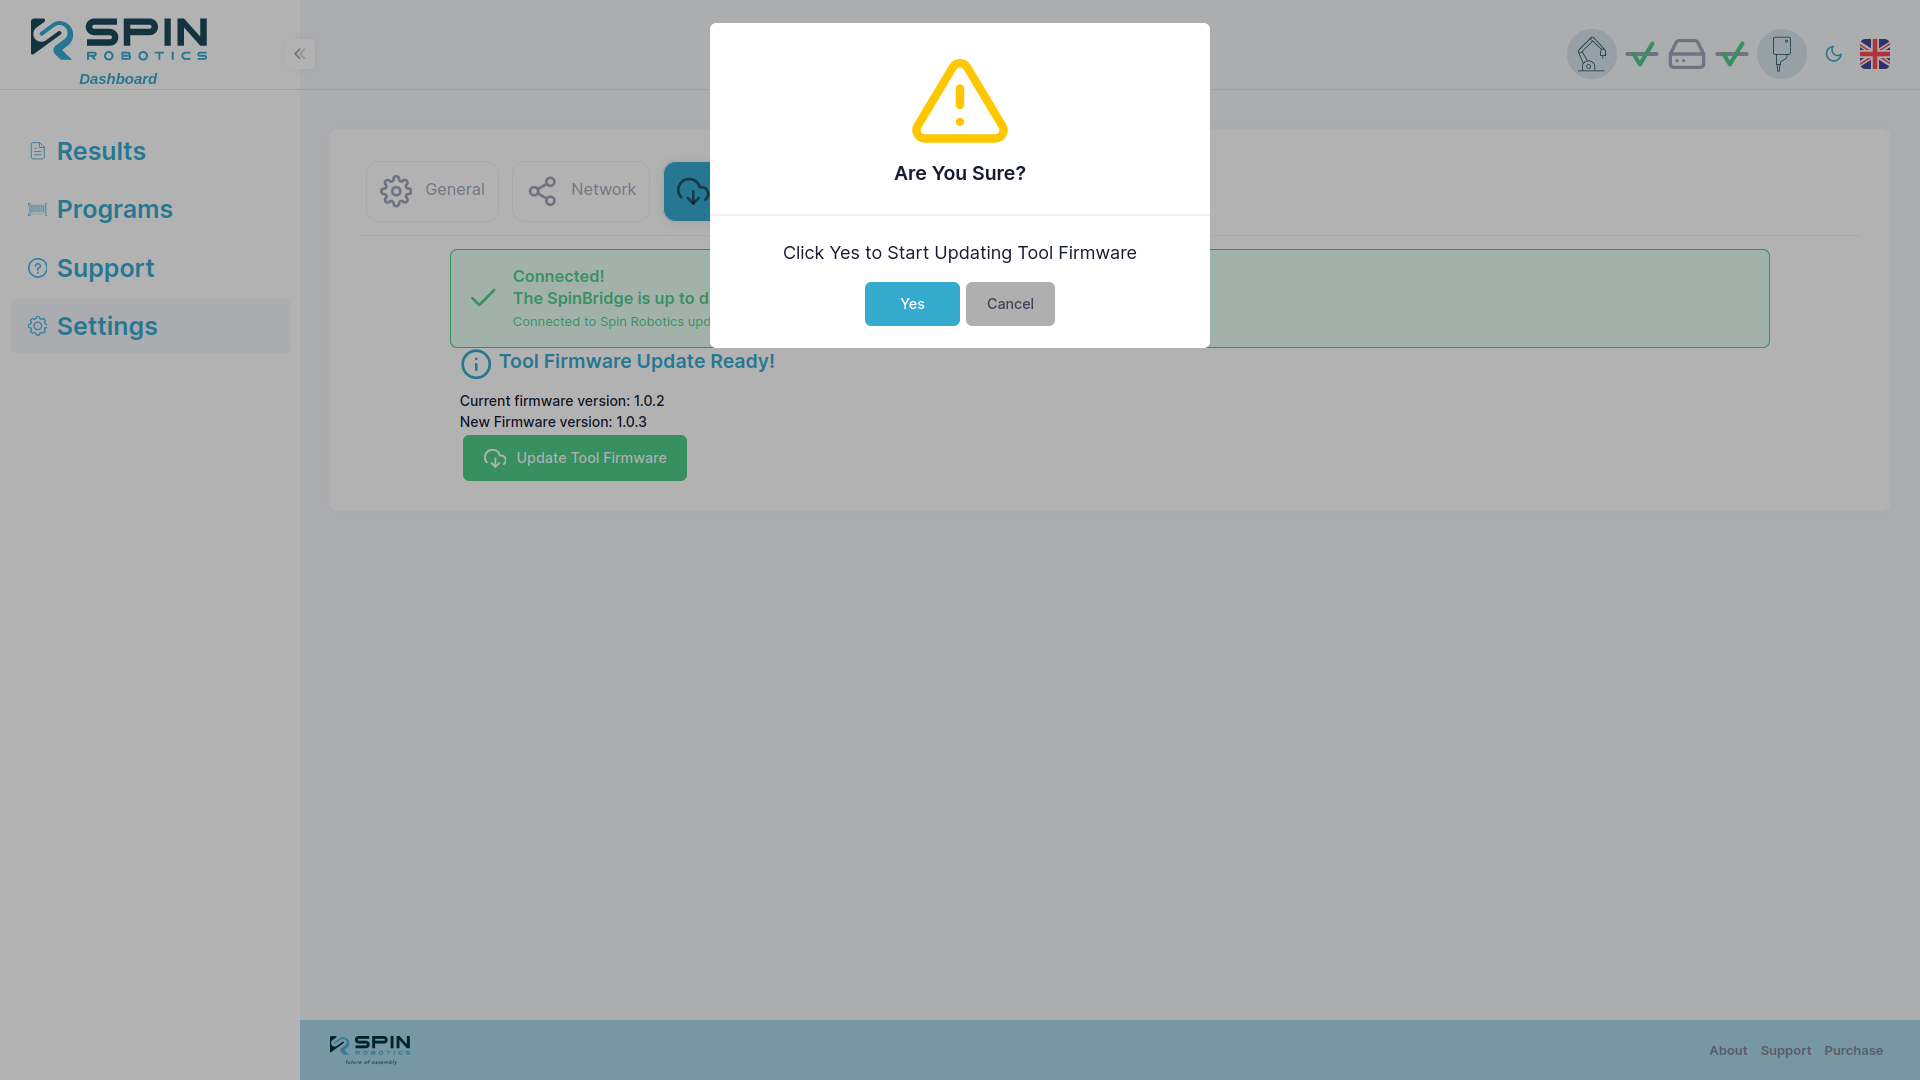
Confirm with Yes.
If the page asks you to power-cycle the tool, disconnect the tool’s cables and reconnect them. The update resumes by itself, but the prompt stays on screen until the update is complete. Do not unplug the Spin Bridge.
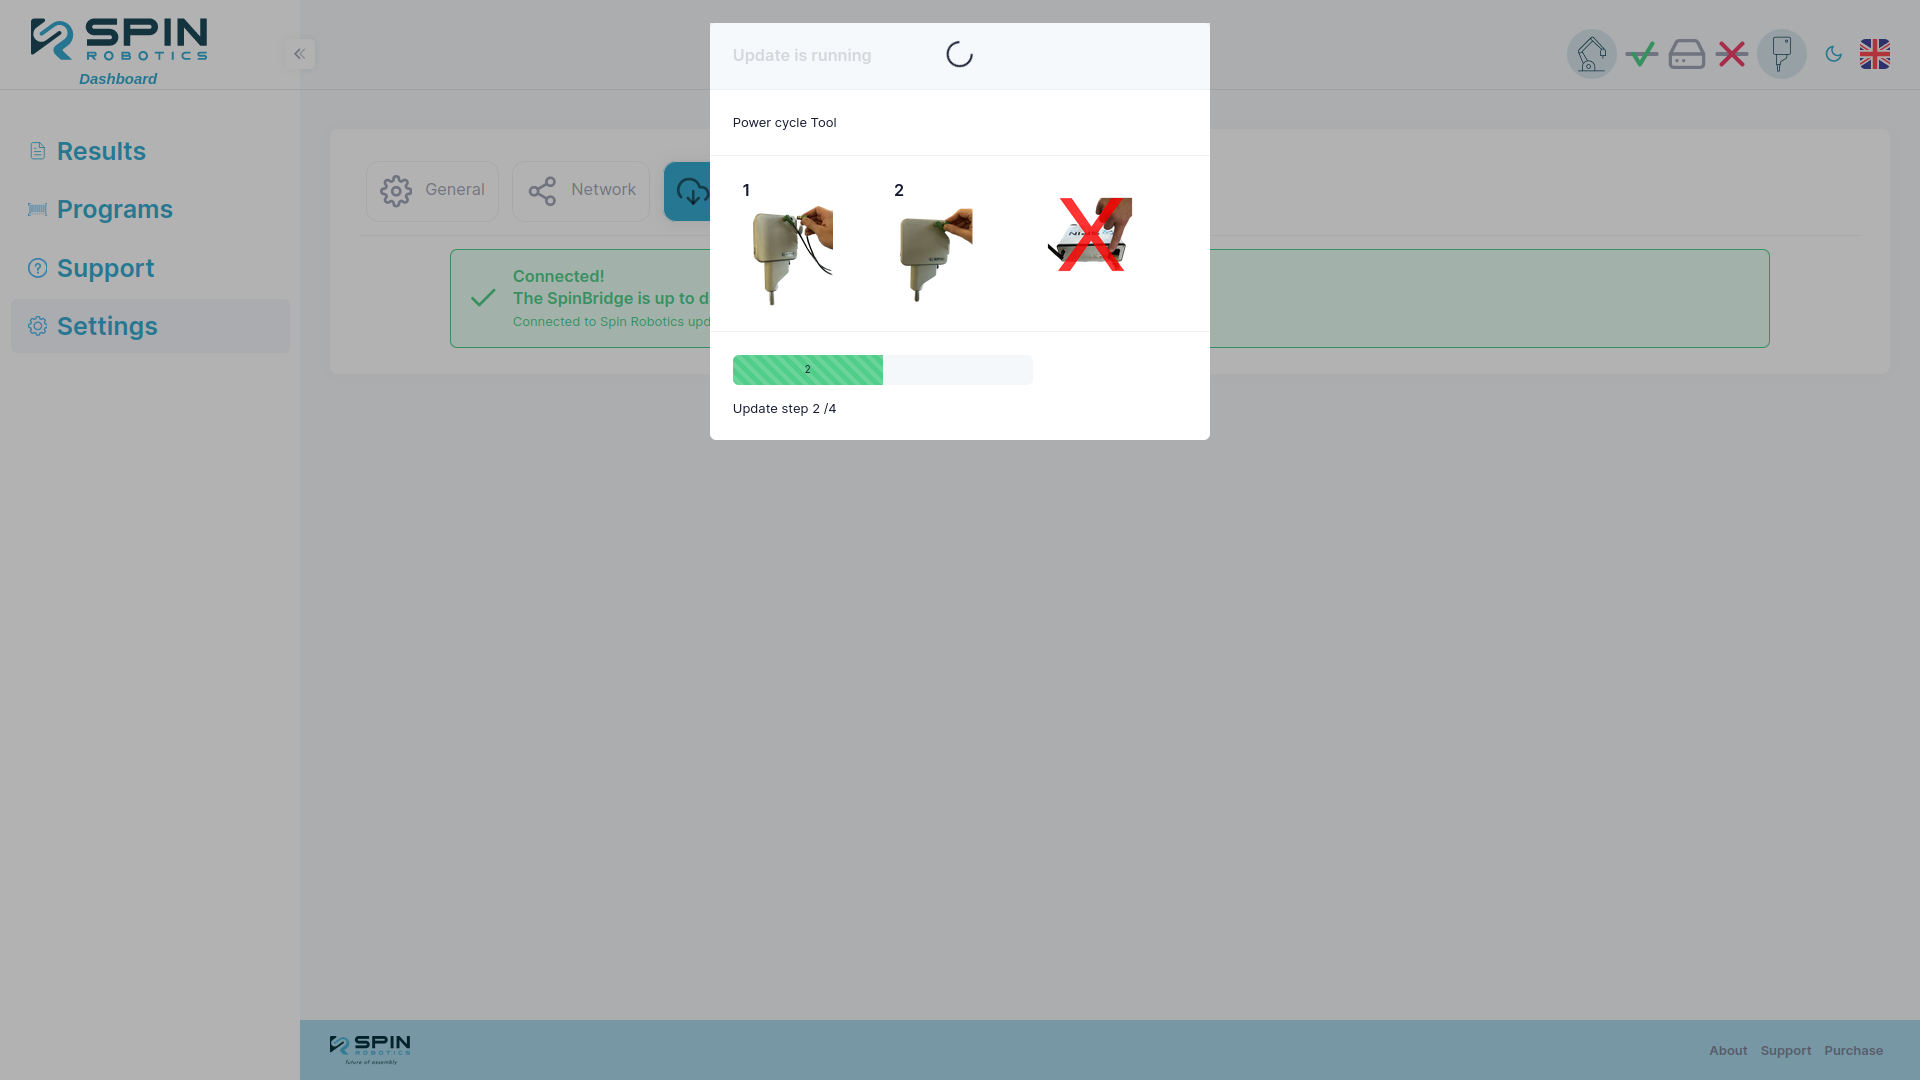
When the update is complete, the tool reboots by itself and the update window can be closed.
If an update fails, it stays pending and can be restarted the next time the same tool is connected.